
Create your first ad
An ad is a normal item in WordPress: you give it a title, choose what it shows, and publish it.
Add the ad
- Start a new ad. Go to Sanil Ads Kit → All Ads → Add New and type a title so you can find the ad later.
- Choose the ad type. In the Ad Details panel, set Ad Type to one of five types: Image, HTML, iFrame, Script / Embed or Google AdSense. Not sure which? See Choose the right ad type.
- Add the content. For an image ad, click Select Image to pick a picture from the Media Library, then enter the Click URL the visitor should go to. For an HTML ad, paste your code into Ad Content. For an iFrame ad, enter the iFrame URL. For Script / Embed and AdSense ads, paste the code you were given.
- Choose where it shows. Show On limits the ad to Desktop Only, Mobile Only or All Devices.
- Set the layout. In the Layout / Output panel, choose the Text Flow (how the ad sits next to your text), the margins, and an optional width and height. You can also add a label such as “Advertisement” above the ad.
- Set an expiry, if you want one. In the Publish box on the right, click Edit next to Expiry. To end the ad on a date, see Schedule an ad.
- Publish. Click Publish.
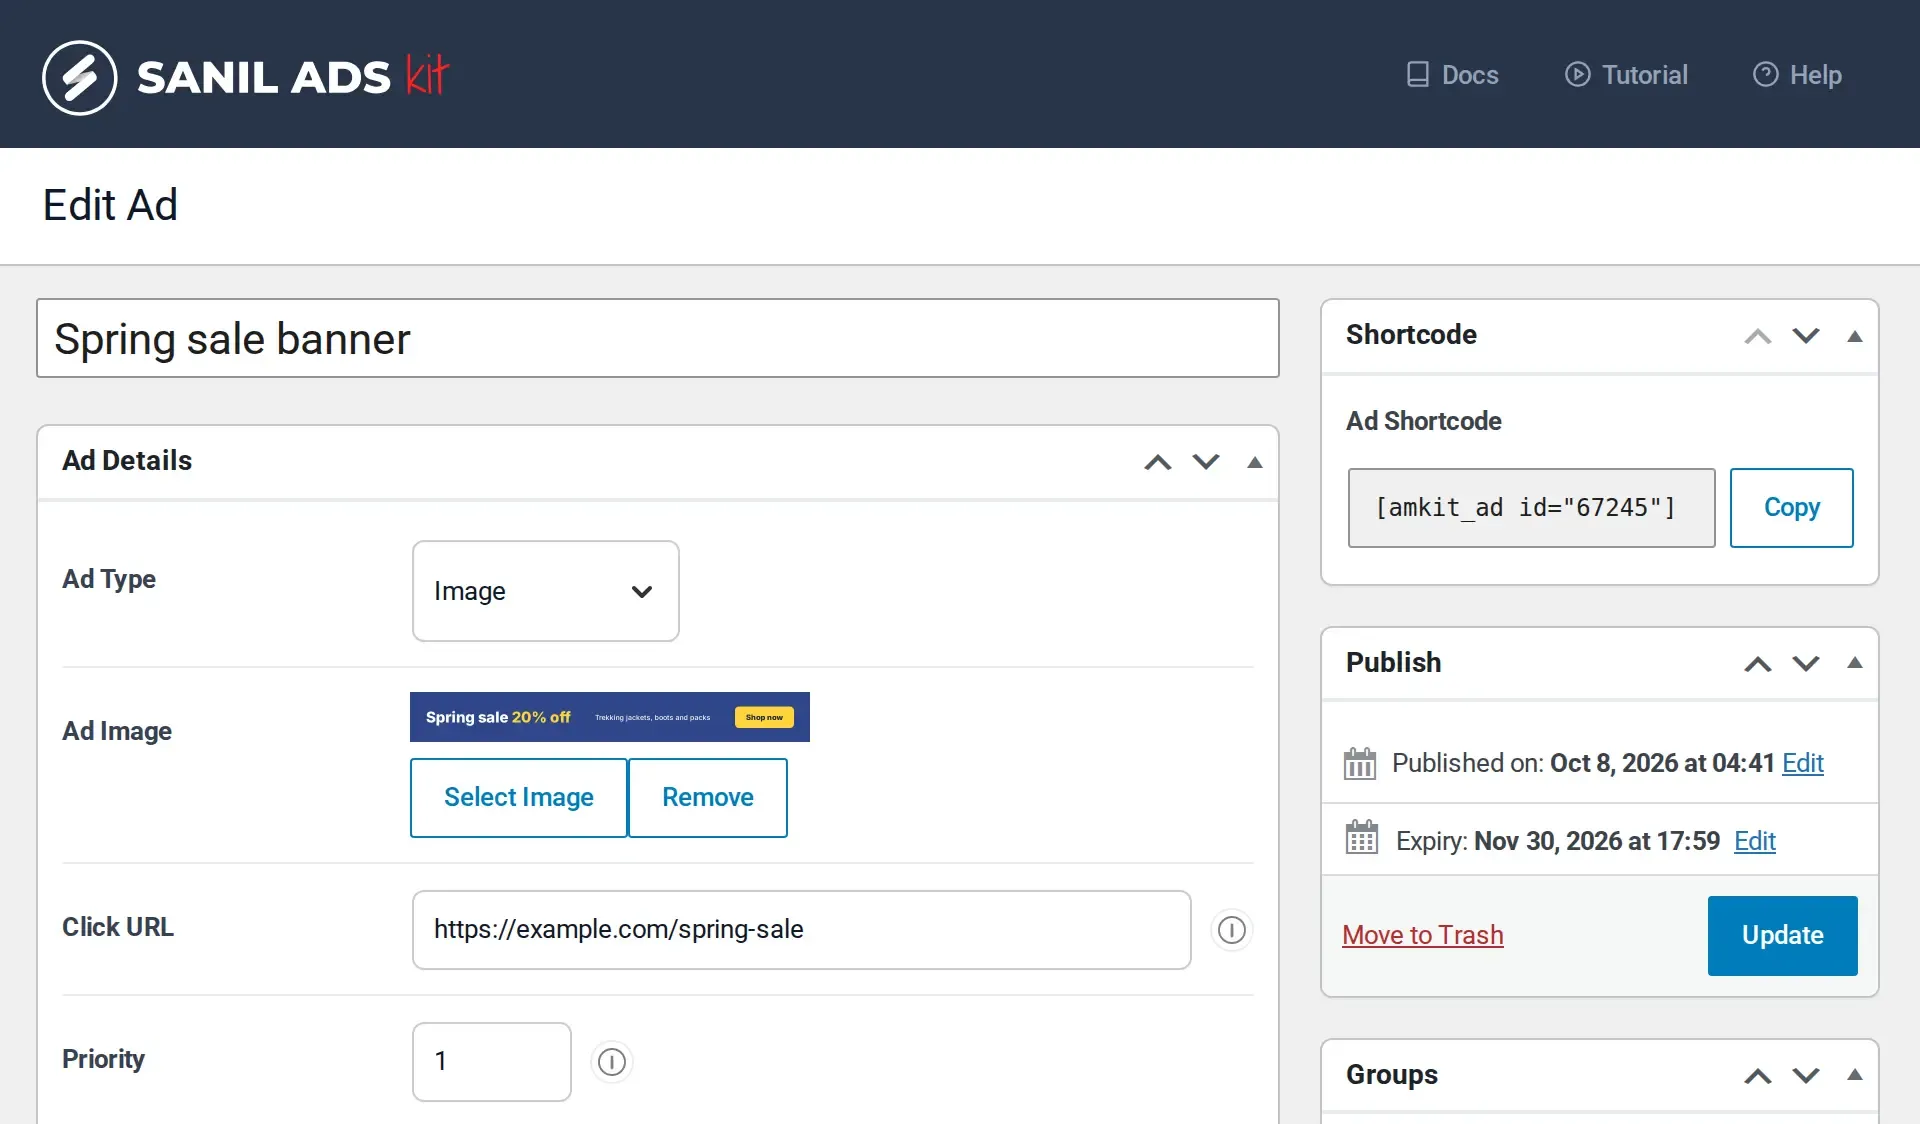
Other settings on the screen
- Priority matters only when the ad is in a group. A higher number means the ad is shown first, or more often. See Rotate several ads in the same spot.
- Container ID and Container classes (in Layout / Output) let you style the ad with your own CSS.
- Targeting limits the ad to the pages you choose. See Show ads only on the pages you choose.
Give the ad a place
Publishing an ad does not put it on your site by itself. Choose one of these:
- Add it to a placement, which shows it automatically (for example after the first paragraph of every post): Place ads automatically.
- Paste its shortcode, for example
[amkit_ad id="123"], into a post, page or widget, or use the block: Show an ad with a shortcode or block.
Note
Script / Embed and AdSense ads can only be saved by users who may post unfiltered HTML, normally administrators. See AdSense or script ads are saved as HTML.