
Place ads automatically with placements
A placement says where on your site an ad or group appears. You set it up once, and every matching page gets the ad.
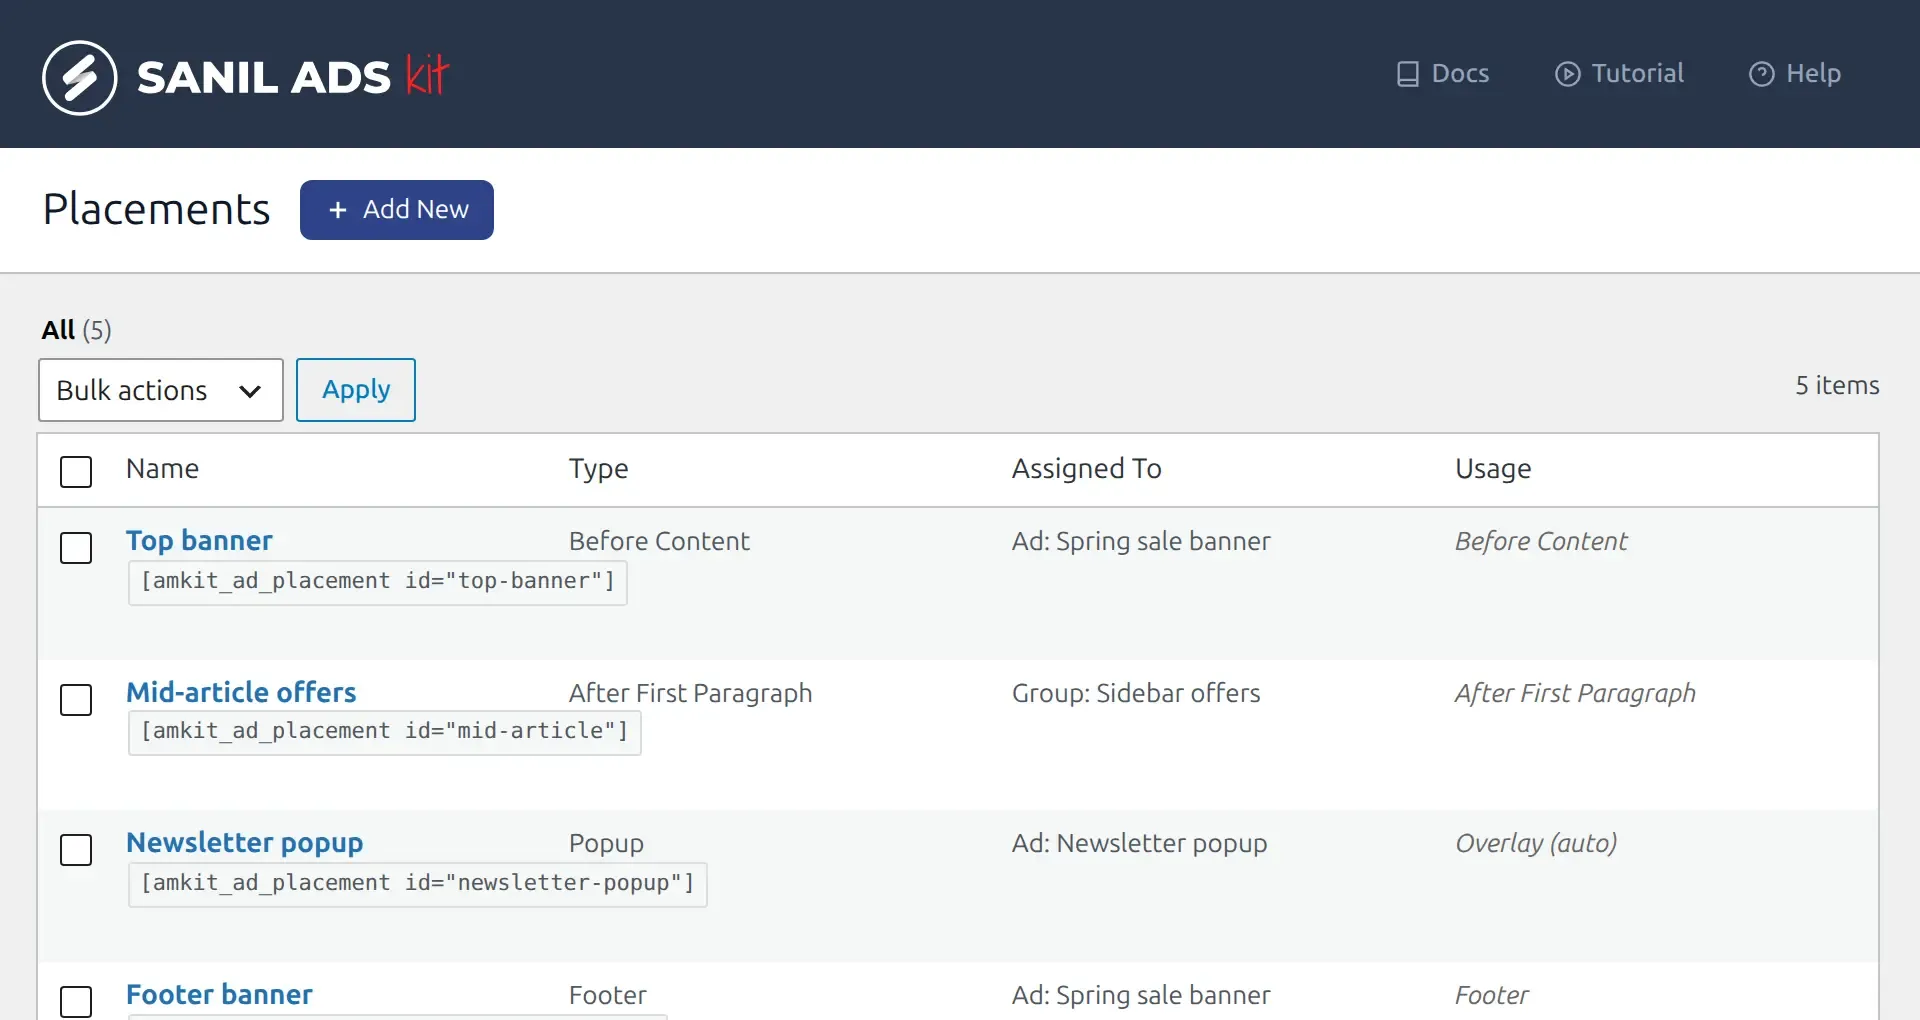
Create a placement
- Open Placements. Go to Sanil Ads Kit → Placements and add a new placement.
- Name it. Type a Display Name. The plugin also makes a short ID from it (a lowercase slug such as
sidebar-top) that you use in shortcodes and template tags. - Choose the type. Pick a Placement Type. See the list below.
- Choose what it shows. Under Assign, pick Single Ad and choose an ad, or Ad Group and choose a group to rotate several ads.
- Save. The placement starts working straight away.
Placement types
The types come in three groups: Manual (shortcodes), Auto Inject and Overlay.
| Type | Where the ad appears |
|---|---|
| Manual (shortcodes) | Nowhere on its own. You place it with a shortcode or template tag. The Placements list shows its shortcode under the name. Click it to copy. |
| Before Content | Above the post or page text. |
| After Content | Below the post or page text. |
| After First Paragraph | Between the first and second paragraph. |
| Footer | In the site footer. |
| Popup | Over the page, after a delay you choose. See Add a popup or skip ad. |
| Skip Ad | Over the whole page like an interstitial, with a skip button and a countdown. |
Note
Before Content, After Content and After First Paragraph only work on single posts and pages. They do not appear on your blog home page, archives or search results.
Manage placements
- Duplicate a placement from the Placements screen (the link under its name) to make a variation quickly.
- Trash stops a placement from showing. Open the Trash view to Restore it or Delete Permanently.
- An ad that has its own targeting conditions is still filtered by them inside a placement.